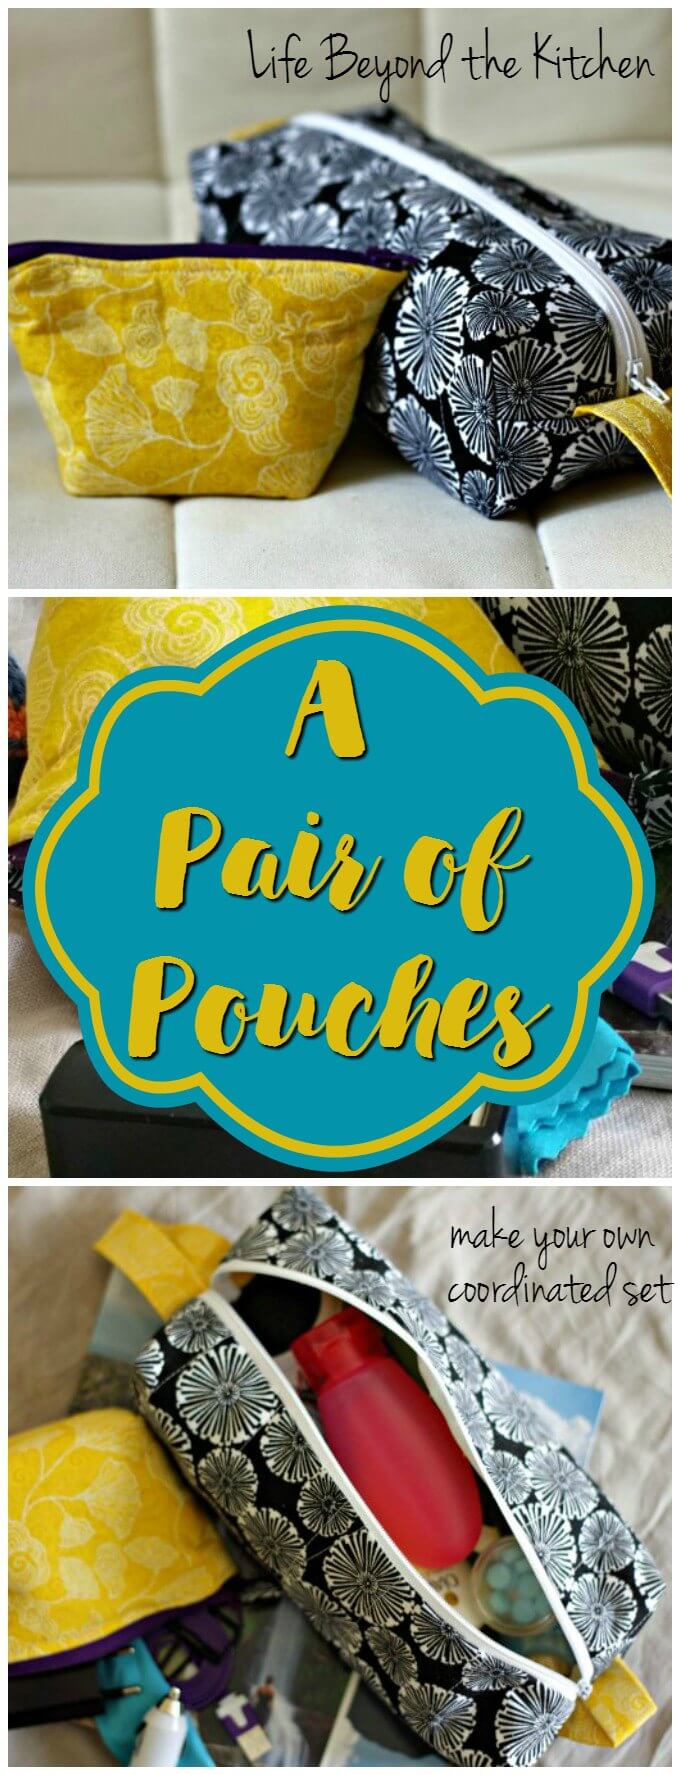
Coordinated Pouches Make Travelling Easier
Last Updated on May 30, 2020 by lydiaf1963
I have yet to master the “perfect pack” when we travel, but after a couple trips hauling around overly heavy bags, I’ve learned a few tricks. One of my favorite tips is to make use of pouches and zippered bags to organize items and make them easier to find. Here’s how I made my set of coordinated pouches.
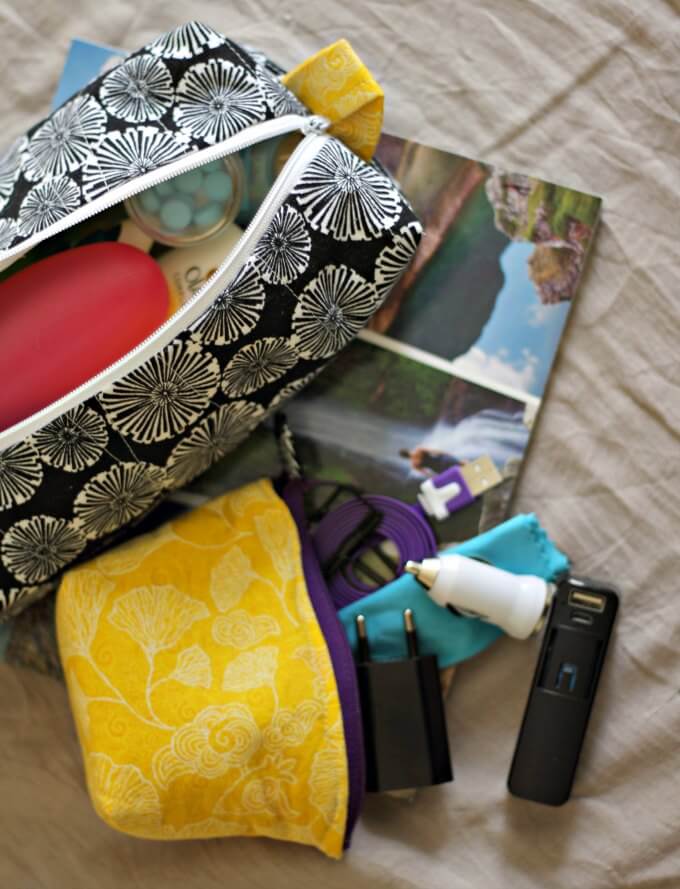
Earlier this year, I bought a sewing machine for me, my daughter and my sister to use. In addition to napkins and placemats, I made several pouches and even learned how to sew a zipper! Can you believe I’ve never sewn one before? Now I’m not sure why I was so intimidated by them. Once I had a little zipper confidence, the idea to make a set of coordinated pouches just naturally occurred. They’re great for travelling or just organizing. The two shown in the photos hold a ton of stuff.
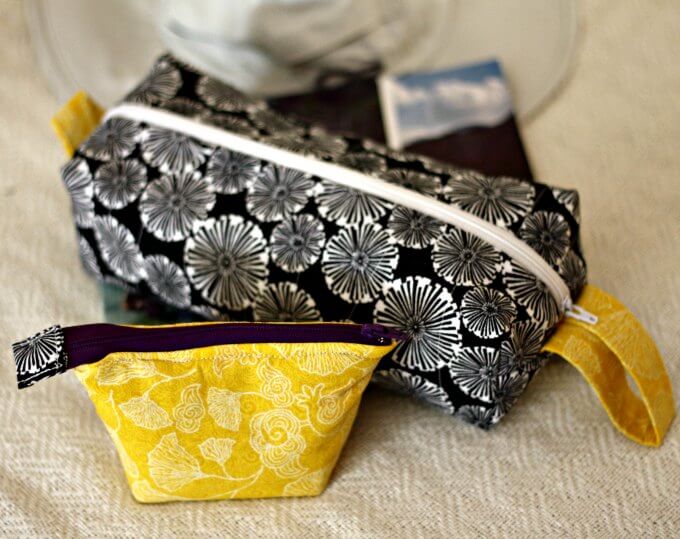
Don’t you love the boxed corners on the black bag? It’s easier to make than you might think. Plus it’s loaded with little details like the top stitched quilting and the side tabs to match the interior fabric. It will hold all the things you’ll want to carry on your travels: makeup, sunscreen, travel sized bottles, etc. It’s called the Nickita Bag and you’ll learn how to make it when you purchase Joan Hawley’s class Zip It Up: Easy Techniques for Zippered Bags on Craftsy. Sometimes it’s easier to learn from watching a video and this class is loaded with little tips to help make beautiful bags.
I’m very sorry to tell you that Bluprint will be closing its doors in the next few months. They plan to stop accepting new subscribers and orders for individual classes, patterns and supplies on May 31, 2020.
You can find the pattern for the Nickita bag on Joan Hawley’s Lazy Girl Designs website.
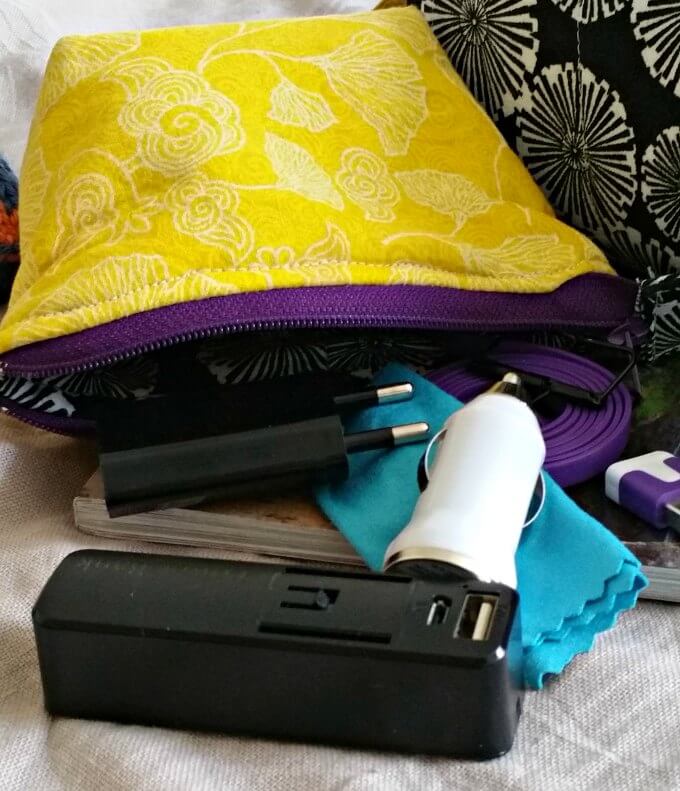
I love the Nickita bag but for everyday use the little yellow zippered pouch can’t be beat. It holds all the stuff I need to keep my phone working: a portable battery stick, a small USB cable, plus a car and a wall charger. It’s great for when we go on a road trip to ensure I don’t run out of power and fits nicely into most of my purses. I chose to reverse the interior and exterior fabrics to make this pouch and love how it coordinates with its bigger sister. To make it I used a combination of techniques from two tutorials:
- Open Wide Zippered Pouch from Anna Graham of Noodlehead This page has a handy cutting chart for the pouches. You’ll find the link to the main tutorial below the chart.
- Triangle Pouch from Vanessa the Crafty Gemini An excellent video tutorial that shows a different method for constructing the pouches. You don’t have to make the triangle shape demonstrated, but it’s awesome for pacifiers and their leashes.
Interfacing is an important component to the bags but it’s not shown in the photos. I used the same weight for both bags. The yellow bag is small enough to maintain it’s shape and works well inside a purse, but after using Nikita for awhile I wish I’d used a heavier weight. While it hold its shape nicely, it will crush when packed. This can be good or bad, depending on what’s packed inside. I prefer a little more sturdiness so that it holds it shape even when full of goodies.
With all of the fabric prints available the sky’s the limit when it comes to making your own coordinated pouches.

Don’t forget to check out these posts from other members of the Creative Craft Bloggers group:
My Old Kentucky Dinner Train Excursion from 2 Dishing Divas
Where I Have Been Pillowcase DIY from Try It – Like It