Decorate Your Walls For Fall With Paper Blossoms
Last Updated on August 2, 2017 by lydiaf1963
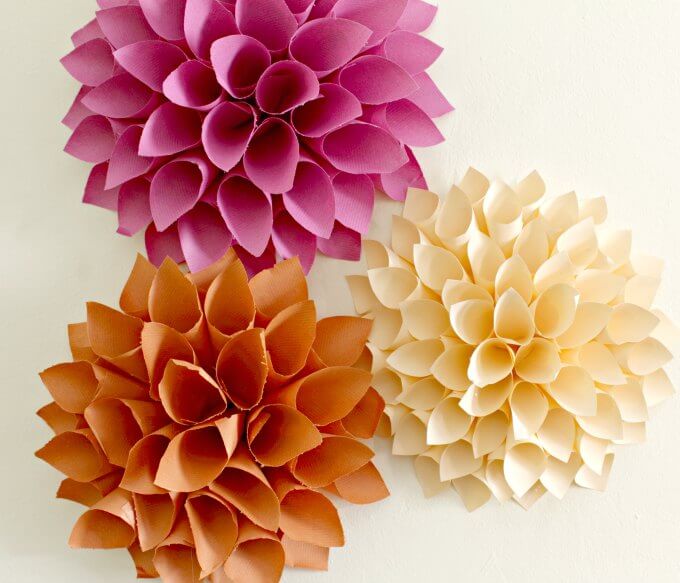
Bright blue skies, orange pumpkins and a porch full of mums always heralded the harvest season in Maryland. As an apartment dweller I no longer have a porch or a yard for a fun display, but I do have plenty of wall space. I love the look of my big paper blossoms. They’re currently adding color to my dining room.
These are quick and easy to make. In fact, the most difficult part for me was to locate the paper. Big “one stop” craft stores don’t exist here in Spain. It took a couple of visits to various shops to find the supplies I needed. I can find cardstock and some places carry scrapbook paper, but I wanted to use lighter paper. In the end I settled on kraft paper because it was available in muted colors that reminded me of mums. I also found a shop that sold good quality printer paper in a variety of colors.
The paper cutter saves a lot of time, but a ruler and scissors will get the job done. It worked best with the printer paper as I was able to cut a couple sheets at the same time. The kraft paper was more of a struggle to deal with, but overall I was pleased with how pretty my flowers turned out.
The flowers are made by forming cones out of squares of paper, then gluing them on to a cardboard base. You can experiment with different sized cones and different colors to create various effects. While the kraft paper came in prettier colors, it was frustrating to cut with the paper cutter and I prefer the results from the printer paper.
Here’s what you’ll need:
Please note the links in these lists are affiliate links.
Materials
- 45 – 60 squares of printer weight paper cut into 3 or 4 inch squares
- lightweight corrugated cardboard for the base
- twine or other means of hanging
Supplies
- scissors
- ruler
- a bowl or similar about 6 inches in diameter
- paper punch (optional for hanging)
- paper cutter makes the job easier
- glue stick
- glue gun
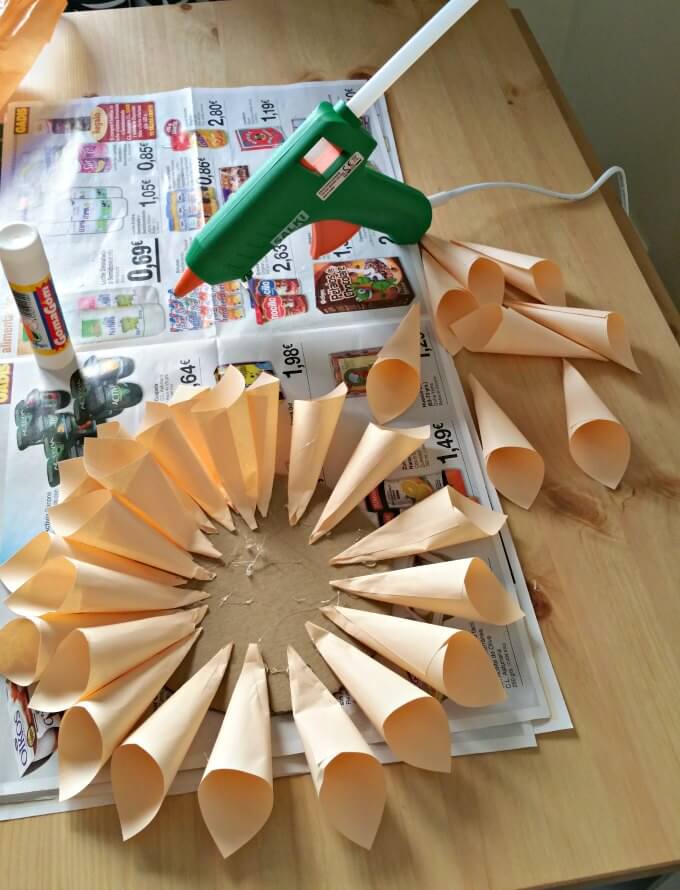
Form the squares of paper into cones and secure with the glue stick.
Trace the bowl onto the cardboard and cut out.
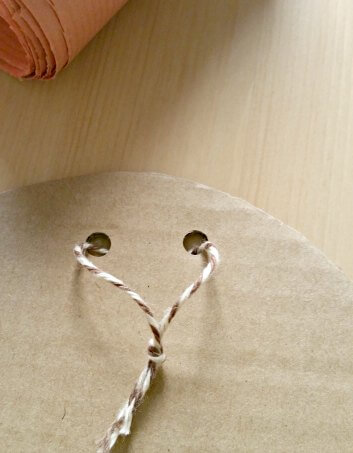
Create holes in the base to make it easier to hang the flower. I used twine to form a hanger, but that’s optional.
Use the glue gun to secure the cones to the cardboard base. Leave space between the cones so you can layer the cones into a flower shape. Flatten the bases of the cones as needed to help create the shape.
For reference, the mauve and copper flowers were made from 4 inch squares of paper. The cream from 3 inch squares.

The Fall Paper Blossoms are part of a monthly challenge hosted by the Creative Crafters Blogging Group. Be sure to drop by and see the beautiful projects.
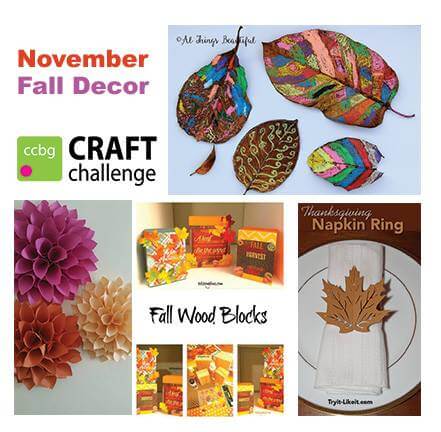
Ann and her son used gel crayons to make gorgeous designs on huge fall leaves.
The Two Dishing Divas created festive wood blocks.