
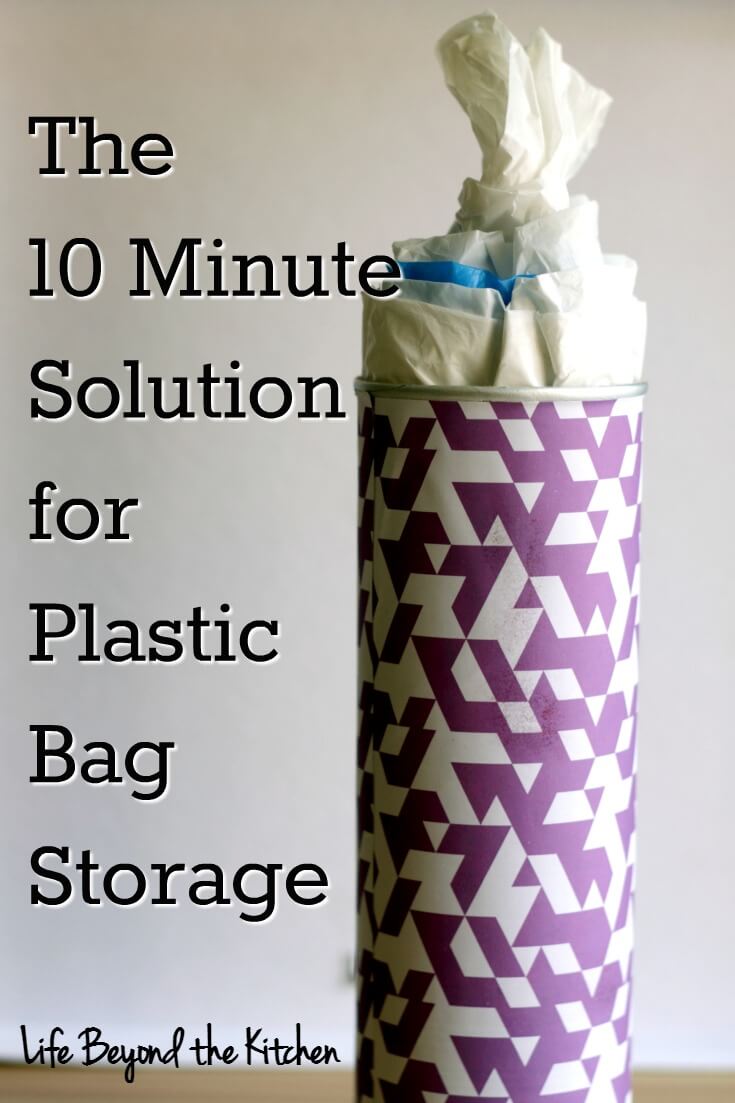
The 10 Minute Solution for Plastic Bag Storage
Last Updated on September 8, 2017 by lydiaf1963
Most of the time we use fabric bags for our shopping, but we do seem to collect plastic bags regardless. I have to admit they’re handy for lining small trash cans among other uses. Until recently, I didn’t have a convenient place to store the half dozen or so plastic bags that seem to have a permanent home in my kitchen. As part of this month’s #CraftRoomDestashChallenge I came up with a quick solution for plastic bag storage.

The idea behind the Craft Room Destash Challenge is to use the supplies we already have. We’re allowed $10 to purchase materials to help complete the project. I spent a couple euros to buy a can of potato chips. It was a chore to eat them, but somehow I managed (you know that’s sarcasm, right?). The full list of materials is below.
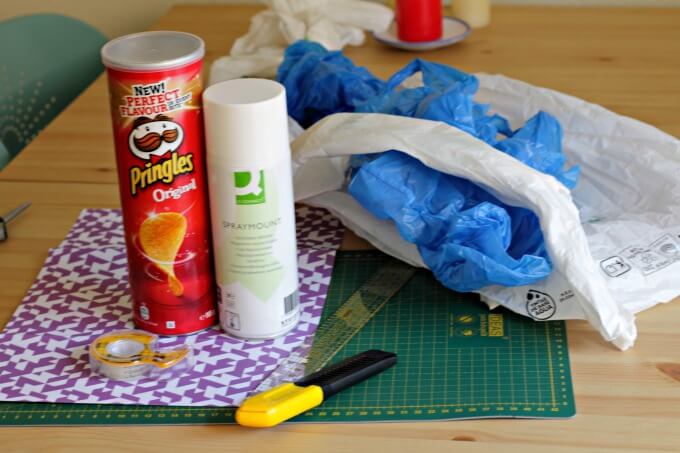
- empty potato chip can
- medium weight decorative paper (heavy enough to prevent the can’s label from showing through)
- spray adhesive
- double sided tape
- ruler
- marker
- scissors
- other embellishments as desired
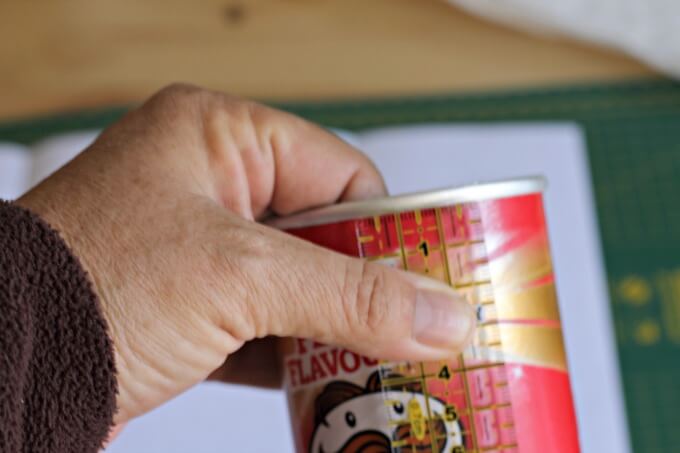
First measure the height of the can. Place the ruler beneath the rim so the paper won’t interfere with the lid and measure to the just above the bottom ridge. Transfer the measurements to the back of the paper, draw a line and cut out.
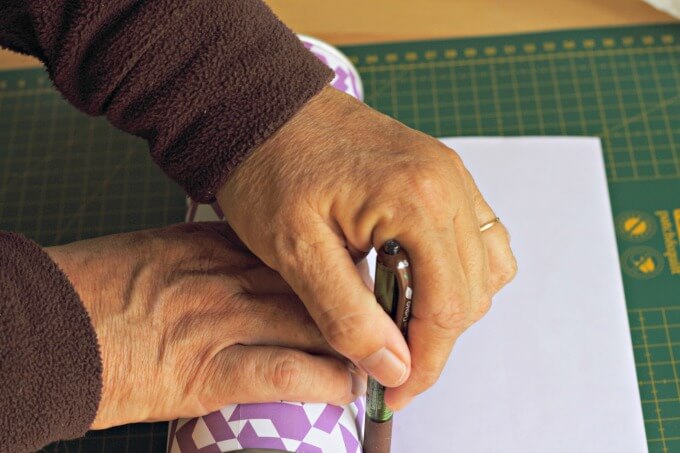
Next, wrap the paper around the can, factor in a half inch or so overlap, and make a mark on the paper. Extend the mark, draw a line and cut.
Use a piece of double sided tape along the length of the can and another around the top, just under the rim. Stick the cut edge of the paper lengthwise to the tape. Spray the back of the paper with adhesive and carefully wrap the paper around the can, pressing the edge to adhere the paper around the top.
Add another piece of double sided tape where the paper overlaps to complete the wrap.
If desired you could cut an X or a slit in the lid so you can pull the bags through but I opted to skip this step.
Fill your decorated can with plastic bags and place it where it’s handy for grabbing a bag whenever you need one.
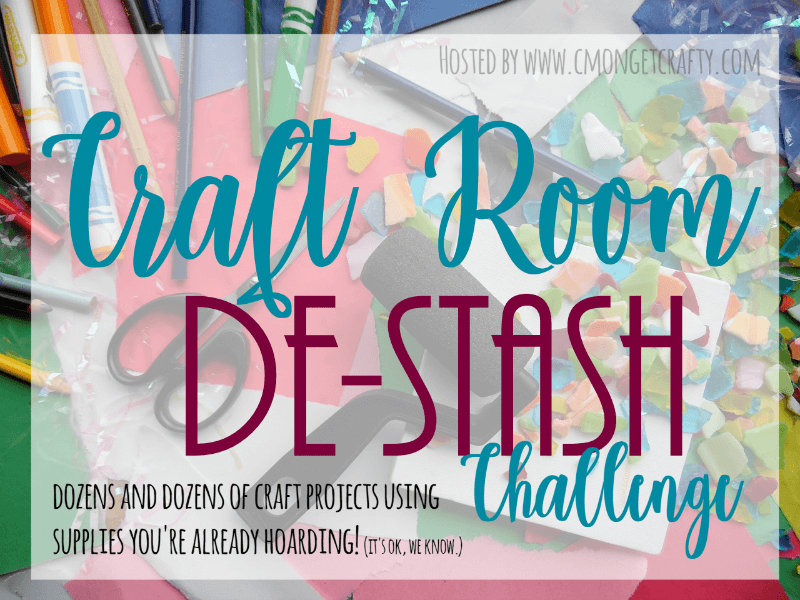
Scroll down to see the other projects from this month’s #CraftroomDestashChallenge!

Every month, a group of bloggers challenge each other to create a new craft or project from their own stash of goodies! Check out some awesome creations you might be able to make from your own stash! #CraftRoomDestashChallenge
If you’d like to join in the Craft Room De-Stash Challenge, you can request to join our Facebook group here!
What crafty creations could you make today from YOUR craft stash?! #CraftRoomDestashChallengeClick To Tweet


What a fantastic idea. Nothing is more frustrating than opening the cabinet door and the plastic bags come flying out.
We had ours on the top of the fridge and they kept falling behind. Now I have to convince my husband to use it!
Clever way to recycle, reuse and repurpose. Love it.
I’m cracking up at this, I just pulled a bag out from under our kitchen sink for my son. He asked if it was trash. I said no, that’s where I keep the plastic bags. He said I should make something nicer to keep them in so people didn’t think they were trash!
That’s funny! My son is good for that sort of thing, too.
We had a drawer full of these bags and it seemed like it exploded every time we opened it! This would be much better, not to mention a great excuse to eat chips!
What a great idea!!! I love the reuse of this item that would normally go right in the trash!